Webhook
Stripe can send webhook events (opens new window) that notify your application any time an event happens on your account. This is especially useful for events—like disputed charges and many recurring billing events—that are not triggered by a direct API request. This mechanism is also useful for services that are not directly responsible for making an API request, but still, need to know the response from that request.
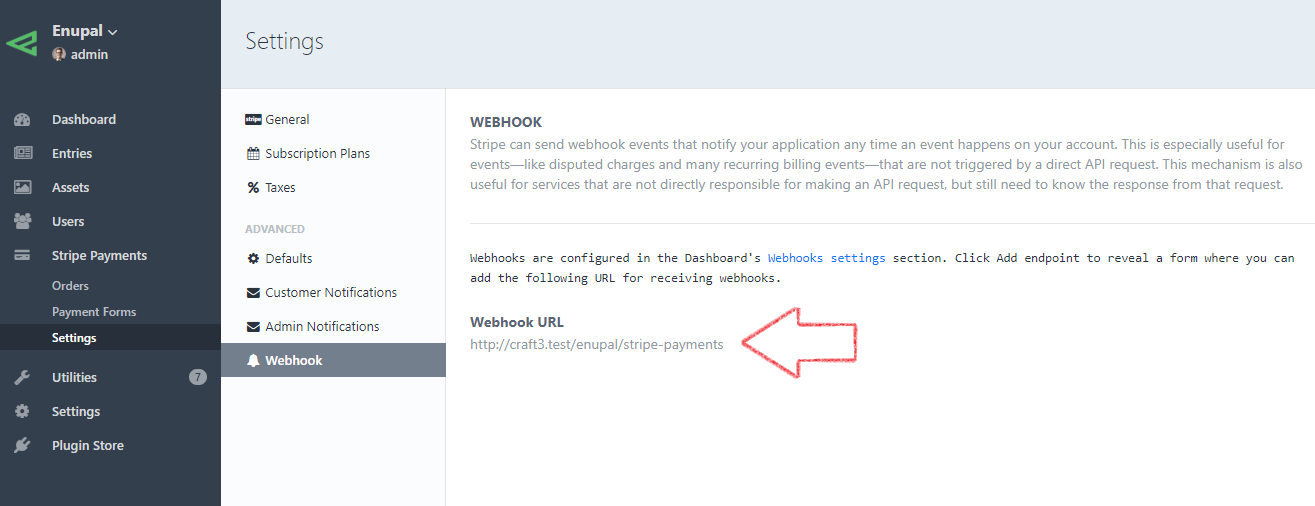
Please add the webhook URL to your Stripe Account. You can find the webhook URL going to
Stripe Payments → Settings → Webhook
Webhooks are configured in the Dashboard's Webhooks settings (opens new window) section. Click Add endpoint to reveal a form where you can add the webhook URL for receiving webhooks.
Stripe Payments trigger an event when a notification event is received from Stripe, some examples of what you can do with webhooks:
- Update a customer's membership record in your database when a subscription payment succeeds
- Email a customer when a subscription payment fails
- Log an accounting entry when a transfer is paid
Follow our docs (opens new window) to add the code to listen to the webhook event in a small custom plugin.
# Events
The following events are required by Stripe Payments, feel free to review the full list (opens new window) of event types and add more as needed:
source.chargeablecharge.succeededcharge.capturedcheckout.session.completedcustomer.subscription.createdcustomer.subscription.deletedproduct.createdproduct.updatedproduct.deletedprice.createdprice.updatedprice.deleted
TIP
If you're using Stripe Elements and using the iDEAL payment method OR if you have SCA enabled, saving the webhook URL to your Stripe Account is required
# Test webhooks locally
A webhook URL needs to be an URL that is publicly available (can be reached across the internet via a public domain name), however, if you're developing your application locally you need a way to test your app on your development environment.
# Stripe Cli
The Stripe CLI (opens new window) is a developer tool to help you build, test, and manage your integration with Stripe directly from your terminal. The Stripe CLI is simple to install, works on macOS, Windows, and Linux, and offers a range of functionality to make your developer experience with Stripe better.
Please follow the next steps if you want to test Stripe Payments when SCA is enabled and you're using Stripe Checkout (this is only needed in a local or development environment)
- Download and install Stripe Cli for your OS following the instructions here (opens new window).
- Open the terminal and run the following command and press enter:
stripe login
- Forward the Stripe webhook events to your local Webhook URL:
- On your Craft CMS dashboard go to: Stripe Payments -> Settings -> Webhook
- Copy your Webhook URL
- Run the following command (replace YOUR_WEBHOOK_URL with the webhook URL copied in the previous step):
stripe listen --forward-to YOUR_WEBHOOK_URL
Optionally, you can copy your webhook signing secret and store it on your
testWebhookSigningSecretwebhook settingsRemember that you may need to run the 2 step each 90 days (login to stripe).